
When food photography meets the restaurant world, a special kind of magic unveils itself. As someone deep in that space, I’ve found that photographing a restaurant isn’t just about the plate—it’s about capturing a story. Below are steps and pointers to help you approach restaurant shoots with confidence, clarity and creativity.
Approaching Restaurant Clients
What’s the best way to break into restaurant photography? I began by offering a free one‑hour session to restaurants: one signature dish and one drink, all captured on site. In doing so, I kept things clear and limited—this prevented me from getting pulled into excessive obligations while I was still building my portfolio.
After the shoot, I delivered a gallery for review, and if the restaurant chose to use any images commercially, they’d purchase a license. No minimum requirement, just transparency.
That offer opened doors: I gained experience, added real work to my portfolio, and gave restaurants a low‑risk way to sample my style. Some opted to buy multiple images afterward; others passed. The key was setting boundaries and expectations right away: the free session was the way in; image licensing was the business.
Tip: offering gift cards or mere photo credit might feel like compensation—but don’t let them substitute for real value when it’s your work.
Pricing – From Hourly to Project Fees
At first I charged hourly. It seemed flexible, but quickly became a frustration. When you charge by the hour, clients often focus on how fast you can shoot, not how well. I found myself racing through meals, spending little time on planning and post‑production, and the result was underpaid work and burnout.
Eventually I switched to project‑based fees: a flat fee that covers prep time, shooting time and editing. This model shifts the story from “how many hours” to “what end product.” It allows me to quote with purpose.
When I line up estimates now, I break them into key components:
- Creative fee: covers planning, shooting and editing.
- Image usage fee: depends on how many images are used, how they’ll be used and for how long.
- Team fees: if assist‑ants or producers are involved.
- Expenses: props, surfaces, food, travel, space rental, etc.
By breaking it down, both photographer and client are clear on value, expectations and outcomes.
Smart Tips for Shooting in Restaurants
With the business ground covered, let’s dive into how to actually make beautiful restaurant images.
1. Build a Shot List + Pre‑Production
Before you arrive at the restaurant, develop a pre‑production document: a mood board or shot list, prop and surface plan, schedule, and contact grid. Sharing this with your client ensures everyone has the same vision. On the day, it keeps the shoot efficient.
Bring the shot list with you—it’s your roadmap.
2. Lighting is Everything
Restaurants vary wildly in lighting. Some are bathed in natural light; others are far more moody and dim. Decide ahead whether you’ll rely on natural or artificial light—and bring the gear accordingly.
- Natural light: Secure a table by a window, rearrange if needed. Use a tripod if light is low, so you can use slower shutter speeds without blurring.
- Artificial light: In darker spaces you’ll likely need one light and a softbox or umbrella. Test the lighting before the food comes out—once the kitchen starts delivering dishes, it’s too late to experiment.
The more comfortable you are with both natural and artificial light, the more restaurants you’ll be ready for.
3. Bring Multiple Lenses
Versatility = value. I carry:
- A wide angle lens for interiors
- A macro or close‑up lens for detail shots
- A zoom lens for flexible framing
If you only have one lens, you can still capture variety—just move around. For example, shoot a dish from overhead, straight‑on, and at a 3/4 angle.
This variety elevates the final gallery.
4. Have a Messenger on Set
Food and restaurants move fast. It’s smart to have a point person (host or manager) who signals when the kitchen is ready and when dishes are about to leave the pass. Without that, plates may arrive too quickly or sit too long, losing their freshness.
The messenger keeps the flow smooth.
5. Shoot Variations
In a restaurant shoot, you’ll get more value if you vary your shots. One dish can yield multiple angles: overhead, straight on, 3/4, close‑up of texture, etc. These variations give your client a richer set of images—not just one static photo.
Think of each dish as a mini‑portfolio unto itself.
6. Use Surfaces & Backdrops Creatively
The backgrounds and surfaces you choose matter. One plate on a white table versus the same plate on rustic wood or dark slate creates an entirely different mood. Experiment with surfaces that complement the dish and the restaurant’s vibe.
Don’t overlook this detail—it can turn a good image into a memorable one.
7. Use Unique Dishes & Glassware
Restaurants often curate interesting plates, glassware and serving items. Embrace that. A ceramic dish with personality or a hand‑blown glass adds character and tells the restaurant’s story. Not everything needs to be a plain white plate. Show the restaurant’s identity through its tableware.
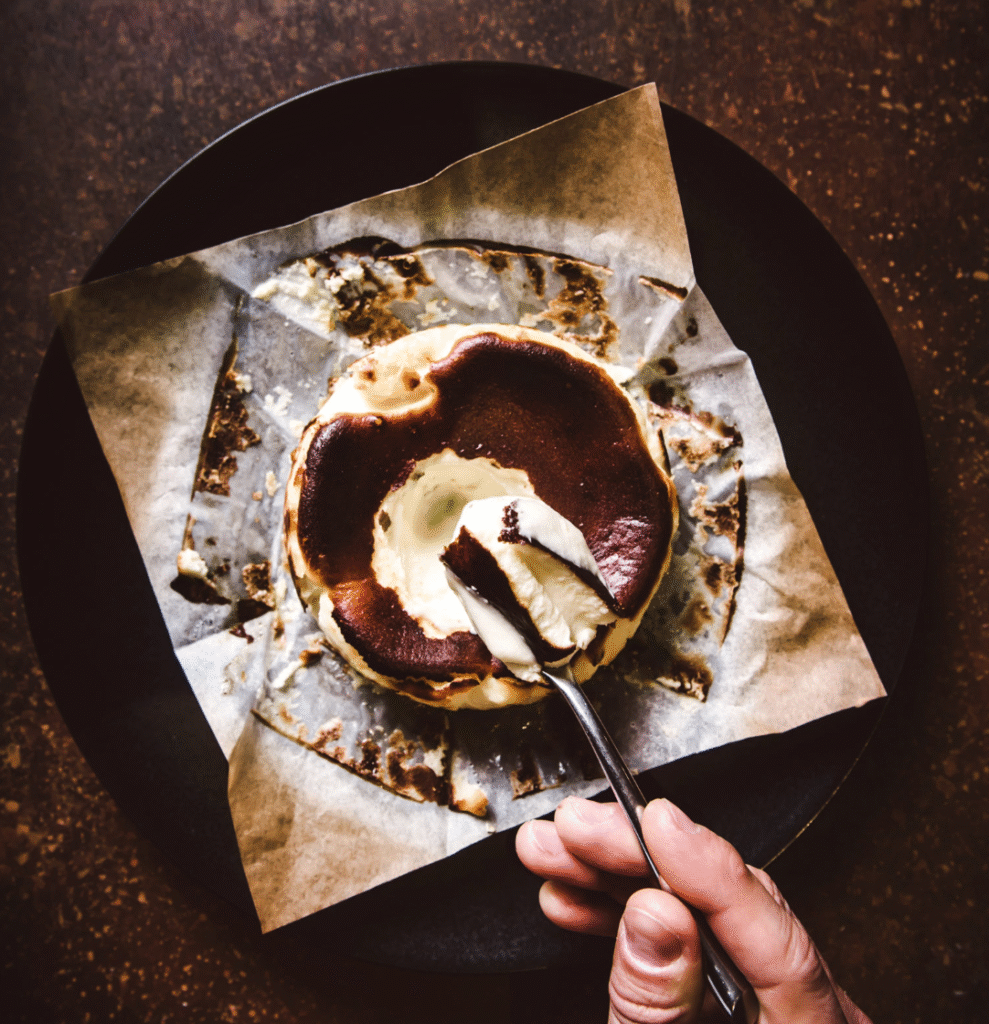
8. Add a Human Element
Food photography doesn’t always need a human, but including one can elevate the image—think of a hand pouring a drink, stirring a cocktail, lifting a fork. The human element adds connection. Just ensure the focus remains on the food or drink. The props serve the story.
9. Get Up Close
Macro or tight shots reveal detail—steam rising, melted cheese, crisp crust. These close views are compelling and help diversify the gallery. One broad‑scene shot plus one macro for each dish gives clients more options for promotion and social posts.
10. Don’t Forget Interior Shots
The dish is important, but so is the environment. A restaurant’s ambiance, décor, lighting and layout all tell part of the brand story. Capture the interior when the restaurant is clean and empty (typically before service), then transition to food shots. Doing interiors first saves time and avoids interruptions.
These interior images add context and enhance the gallery’s value.
To wrap up: Restaurant photography is fast‑paced, creative and richly rewarding. The more planning you do, the better your shoot flows. The clearer you are in your pricing and scope, the more professional you appear. And the more variety and story you capture—through dishes, interiors, lighting and people—the more value you bring to your restaurant clients.

