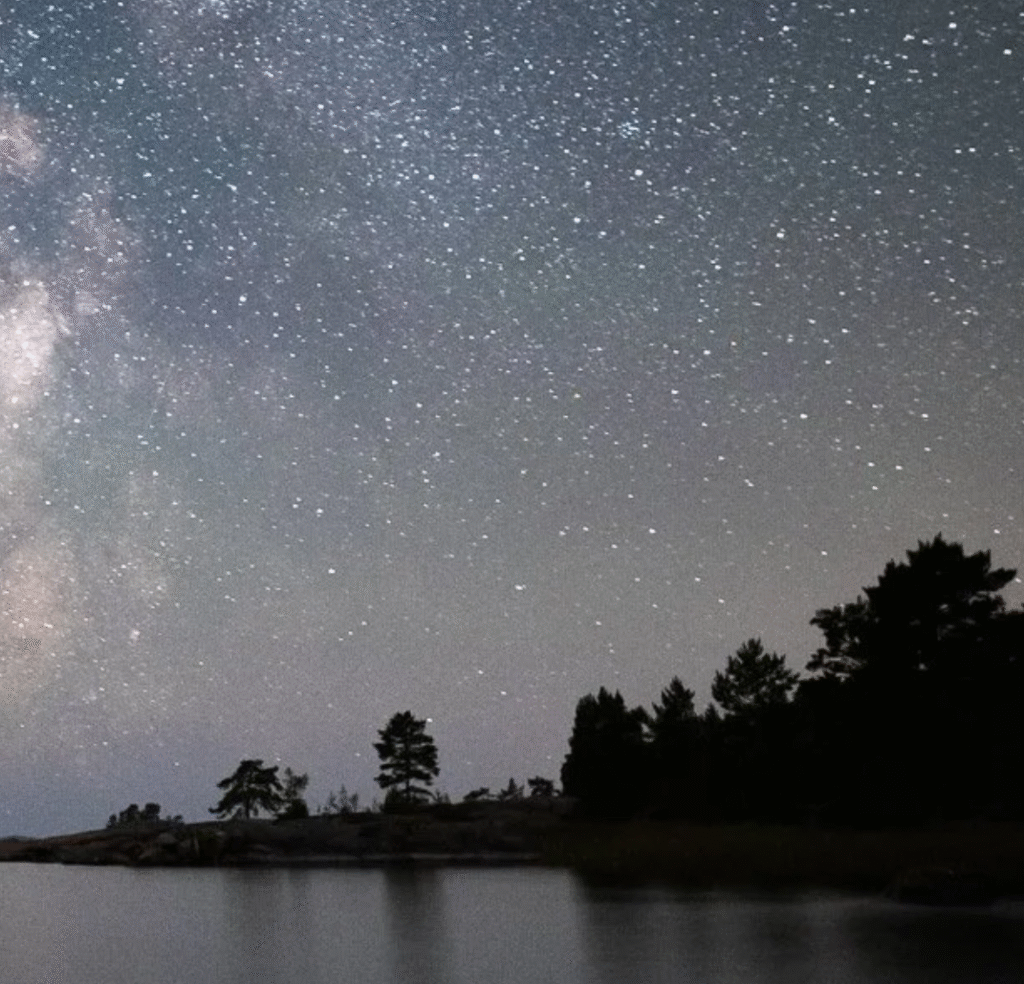
When you’ve captured that breathtaking night‑sky shot, the next crucial phase is editing. The goal is to accentuate details, emphasize the vastness of space and the clarity of stars, and retain the feeling of the night. With the right workflow in Adobe Lightroom, you can transform a flat RAW file into a compelling astrophotograph. Here’s a streamlined, four‑step guide tailored for this purpose.
Step 1: Basic Global Settings
Begin by establishing the foundation. Start with white balance: cooler temperatures help restore the natural feel of a starry sky — for example, around 4200 K — and a slight tint adjustment (e.g., +28) can correct atmospheric color cast.
Then shift your exposure modestly lower to keep the scene feeling like night (for example, –1.06 stops). Increase contrast (+12) and bring up whites significantly (for example, +40) to brighten the stars and Milky Way. A dehaze increase (e.g., +24) will help deepen the sky and reduce atmospheric haze. A light texture boost (+14) can add detail in the stars, while clarity (+6) can sharpen the midtones for a crisp look. Altogether, these adjustments set the mood and give you room for further refinement.
Step 2: Tone Curve
After your basic adjustments, dive into the tone curve to fine‑tune the contrast and deepen the blacks. Place two control points: one in the upper mid‑tones and one in the darker region. Lowering the output value of the lower point (for example, input ~93 → output ~75) will deepen the shadows. Slightly lowering the top point (for example, input ~188 → output ~180) will subtly tone down the highlights. This gentle S‑curve adds punch without sacrificing star detail or washing out the sky.
Step 3: Graduated Filters for Foreground & Sky
Astrophotography often includes both sky and a foreground element (e.g., landscape, structures). Use two graduated filters: one for the foreground, one for the sky.
- Foreground Filter: Place this along the bottom of your frame. Adjust temperature modestly (for example, –14 K) and tint slightly (+4) to match ambient light. Increase exposure (+0.67) and whites (+20) to brighten the landscape without making it look daytime bright. Lower texture (–4) for smoothness, raise clarity (+14) and dehaze (+14) for subtle detail and contrast. Decrease saturation (–11) and apply moderate noise reduction (e.g., noise ~25) since this region often suffers more from high‑ISO grain.
- Sky (Milky Way) Filter: Target the upper portion. Reduce exposure slightly (–0.67) to preserve highlight detail in the stars. Increase highlights (+24) and whites (+15) to make the Milky Way pop. Use clarity (+9) and dehaze (+10) to boost definition of the dust lanes and keep the sky rich. Apply noise reduction (e.g., noise ~16) to protect the smoother expanse of space.
These selective tweaks help you shape the scene: your sky stays deep and dramatic, the foreground retains context without stealing attention.
Step 4: Final Adjustments
In your final pass, deal with lens quirks, noise, and the finishing touches that elevate the image.
- Lens Corrections: If your shot suffers from distortion or vignetting, apply lens‑profile corrections.
- Sharpening: Use moderate sharpening (amount ~50, radius ~1.2, masking ~10). For astrophotography, sharper isn’t always better—over‑sharpening brings out noise.
- Noise Reduction: For luminance noise, try a reduction value around ~15, detail ~45, contrast ~15. These values strike a balance between clean sky and preserved star detail.
- Post‑Crop Vignetting: To draw the viewer’s eye toward the centre, apply a subtle vignette (amount ~–9) with highlight priority, feather ~100, and highlights ~100.
- Grain for Texture: After smoothing out noise, you might add a bit of grain (amount ~9, size ~10, roughness ~9) so the image maintains character and doesn’t look overly polished.

When you follow these four broad steps—global correction, tone‑curve contrast, spatially aware filters, and final finesse—you’ll have a lightweight but effective workflow for astrophotography editing. The star field should glimmer, the night should feel expansive, and the scene should retain its natural integrity. Keep experimenting with your own camera settings and scene types, but this structure will give you a reliable starting point for turning raw night‑sky captures into evocative images.


