
Every photographer develops their own approach to editing. Some favor straight-out-of-camera images, letting the camera handle most of the processing. Others prefer working with raw files in programs like Adobe Lightroom or Capture One, carefully refining each photo to retain full creative control. There’s no universally correct method—whether you bypass post-processing entirely or spend hours perfecting a single image depends entirely on personal preference.
For me, post-processing is an essential part of my workflow. I enjoy having complete control over how each raw file develops, sometimes dedicating up to an hour on a single image. Although spending that much time is uncommon, most edits take about 10 to 20 minutes. This stage of editing is not just about the technical work; it’s also a relaxing ritual. I might pour a drink, play some background music, and quietly engage with my images, maintaining my connection to photography even when I’m not shooting outdoors.
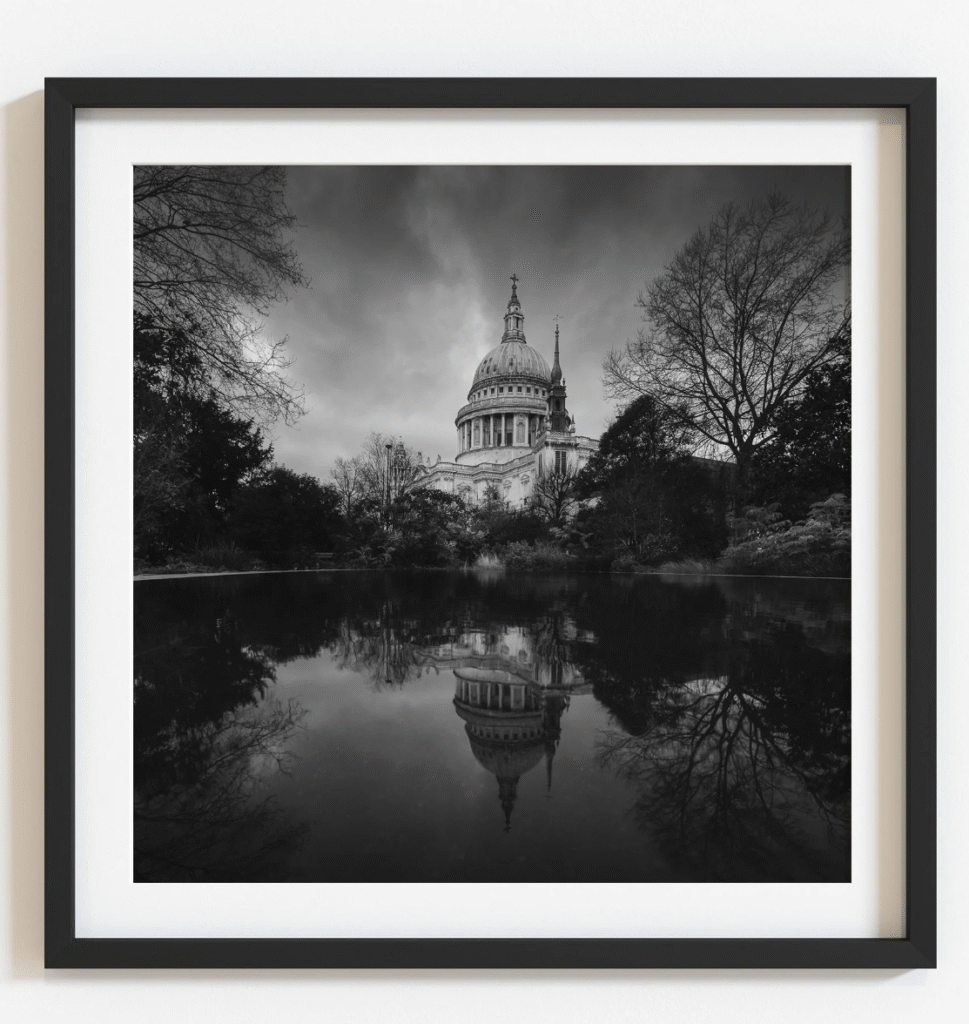
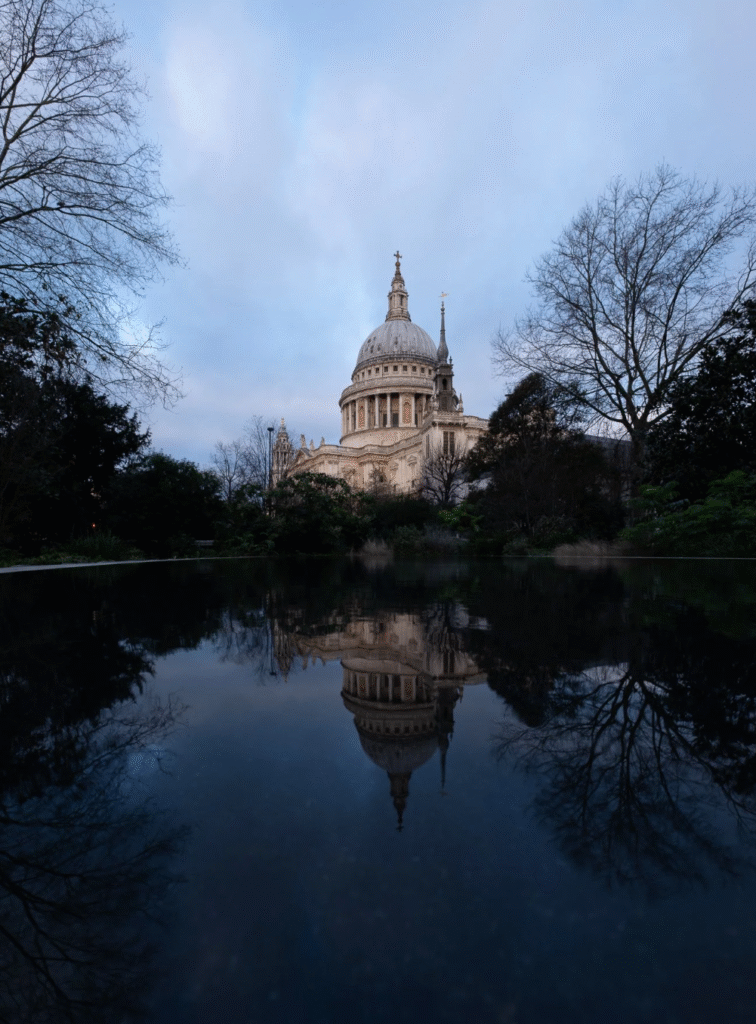
To illustrate my process, I’ll walk through the steps I used to edit a photo of St Paul’s Cathedral, titled Dual Realms, and share before-and-after perspectives. While videos can sometimes convey post-processing more clearly, I prefer to detail the workflow in writing. It’s important to note that this is simply my method—not a definitive guide. If you have tips or suggestions, sharing them is always welcome.
Software and Tools
I primarily use Adobe Lightroom Classic and Photoshop for editing, with about 95% of the work happening in Lightroom. Photoshop is reserved for finishing touches or tasks not achievable in Lightroom. My workflow starts with importing raw files into Lightroom, where the default Adobe Color profile is applied.
Preparing the Raw File
The raw file for Dual Realms is a 3:2 vertical shot of St Paul’s Cathedral, captured in winter, which explains the bare trees. I shoot vertically to allow cropping flexibility, particularly when converting to square format. This approach gives me control over the composition, letting me adjust how much sky or reflection appears in the final image.
Ensuring verticals are straight and the camera is level in the field is another crucial step. While minor corrections are always possible in post-processing, getting it right in-camera minimizes later adjustments.
Cropping and Straightening
The first stage in editing is securing the composition. Vertical orientation provides flexibility, letting me balance the amount of sky and reflection to create a visually pleasing result. Even with careful shooting, minor rotation adjustments can help an image appear balanced to the eye, especially if no clear reference, like a straight horizon, exists.
Converting to Black and White
Converting the image to black and white is straightforward in Lightroom’s Basic Development Panel. Once converted, the main processing begins. It’s important to note that the settings I apply are tailored to this particular image and may not work universally for other photos. My goal here is to demonstrate the approach rather than provide an exact formula.
Adjusting the Curves
Instead of sequentially adjusting sliders in Lightroom’s Basic Panel, I start with the Curves panel. I establish the black and white points first, adding contrast as needed. For Dual Realms, this step helped lift shadows and enhance the depth of darker areas, giving the image more visual impact.
Enhancing the Sky
Subtle adjustments are key when working with skies. Using masks in Lightroom, I selectively darken areas to introduce more drama, taking care to avoid unnatural halos around trees or architectural elements. Incremental changes often yield the best results, preserving realism while enhancing mood. The process emphasizes patience: small, deliberate edits gradually build the intended effect rather than relying on extreme slider movements.
In conclusion, editing black and white images is both a technical and creative journey. By carefully managing composition, tonal adjustments, and subtle enhancements, it’s possible to transform a raw capture into a striking, evocative photograph. While every photographer will have a different approach, the guiding principle remains the same: maintain control over your image and make thoughtful decisions that align with your artistic vision.

